Following are the steps to create Check-in and Check-out Infopath form:
1. Create one Infopath Form.2. Add Data Connection, select "Recevice Data" then next.
3. Select "SOAP Web Service", next,
4. Enter the location like (http://server-name/_vti_bin/Lists.asmx ), next,
5. Select "CheckIn", next. ok ( Same steps for "CheckOut").
6. Add Form Library Data Connection, select "Recevice Data" then next,
7. Select "SharePoint Library or List", next,
8. Enter the location like ("http://server-name/CheckInOutLib/Forms/AllItems.aspx"), next
9. Select the check box of "Check_Out_To" and "Include data for the active form only", next
10. then Ok.
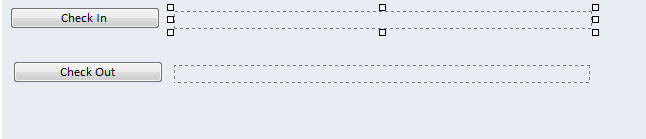
Add some controls in infopath form:-
1. Two buttons for event fire( Check-in and Check-out)
2. Two Text for message (MessageCheckin and MessageCheckout)
Process of Call or Use for web service:
1. Right click, CheckOut Buttton and add Rule "Action" equal
Conditions:
AccountID is blank ( CheckOutFile )
Title is not blank ( CheckInOutLib )
Rule Action:
PageUrl is concat("http://server-name/CheckInOutLib/", Title, ".xml")
checkoutToLocal is true()
Query for data (CheckOutFile)
Query for data (CheckInOutLib)
MessageCheckOut is concat(DisplayName, "is check out the form")
2. Right click, Check-In Button and add Rule "Action" equal
PageUrl is concat("http://server-name/CheckInOutLib/", Title, ".xml")
comment is "Form is check In"
CheckinType is 2
Query for data (CheckInFile)
Query for data (CheckInOutLib)
MessageCheckOut is concat( "the form is Check In")
No comments:
Post a Comment